


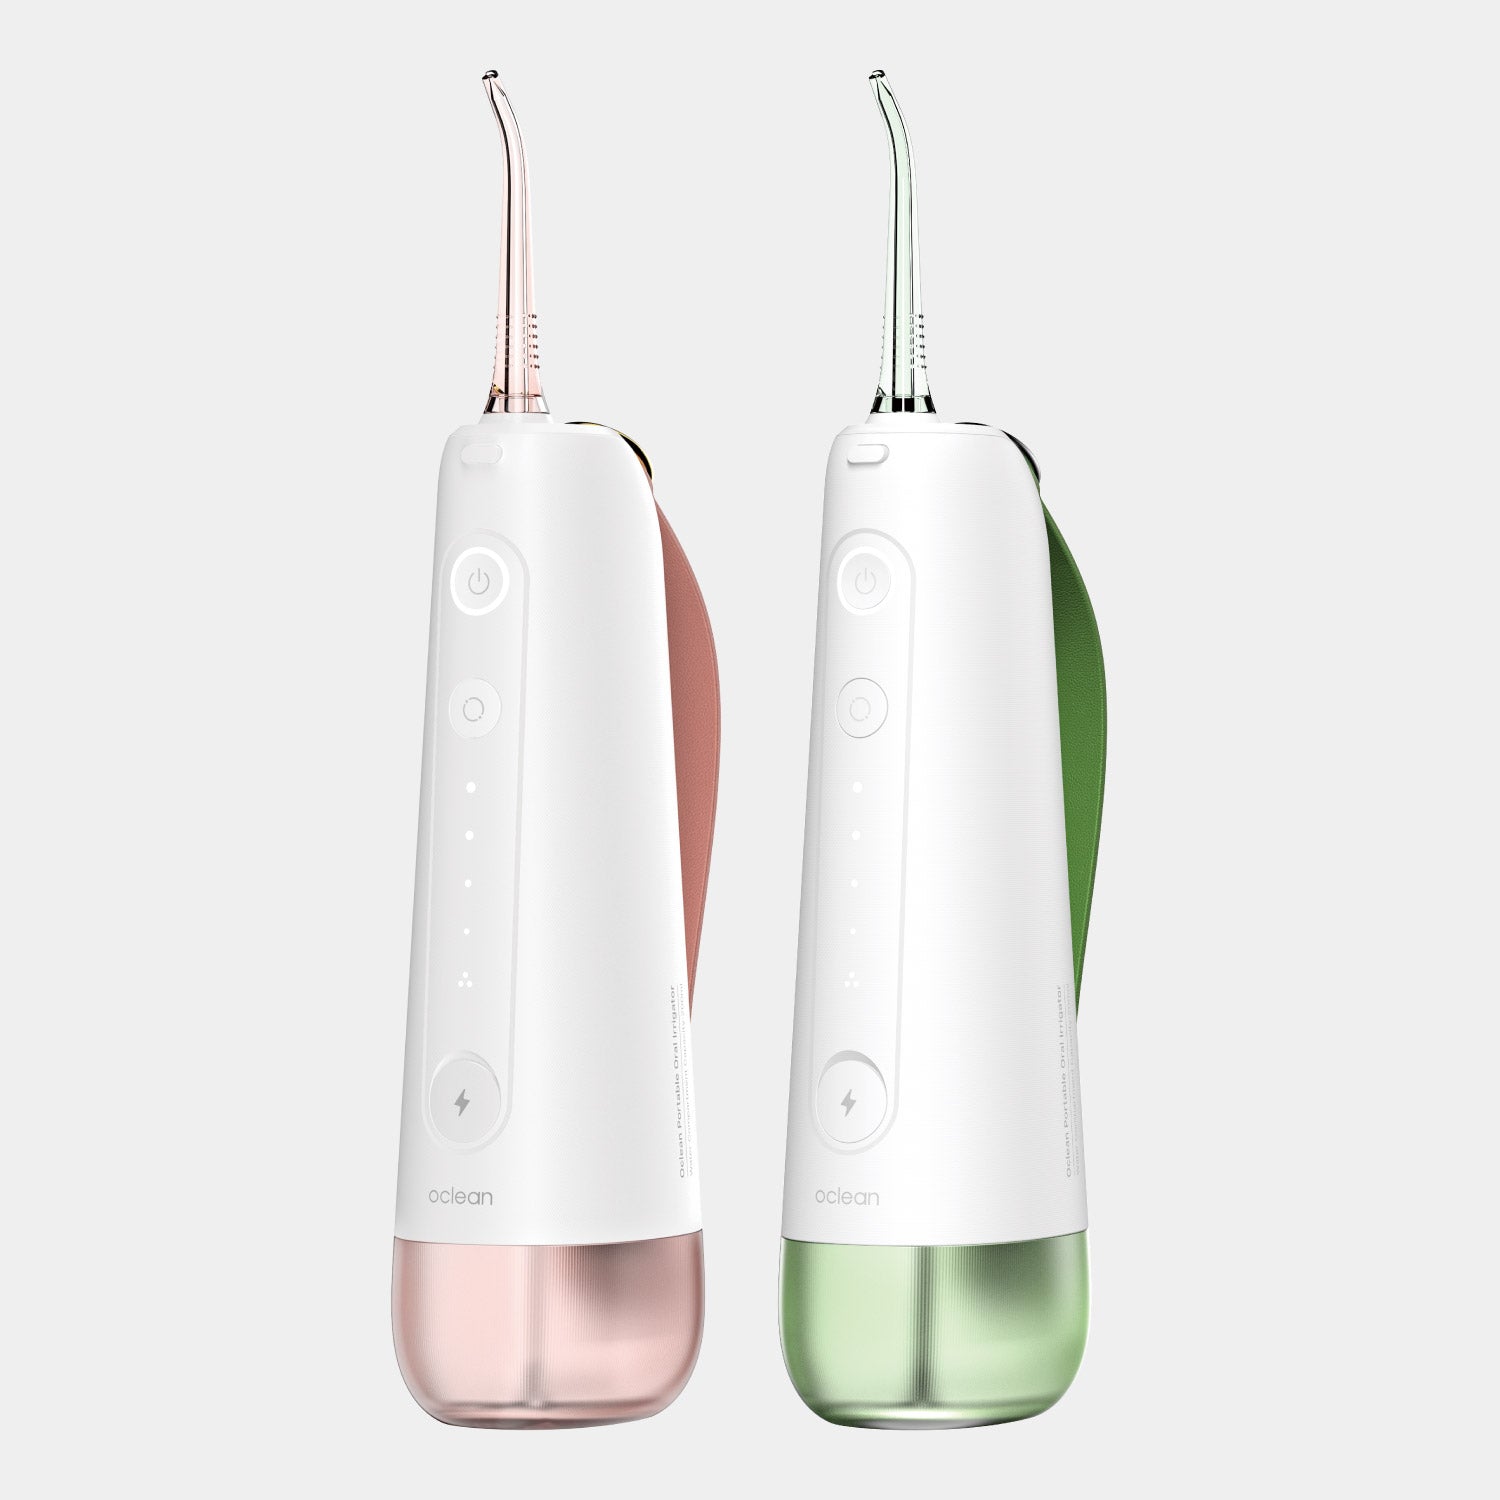


Hammasvälisuihkut ovat hyödyllisiä suunhoitolaitteita. Ne poistavat ruokahiukkasia ja plakkia vesisuihkulla sekä puhdistavat hampaanvälit ja ienrajan, joihin tavallinen hammaslanka ei yllä. Mutta samalla kun hammasvälisuihku puhdistaa suusi, sekin tarvitsee puhdistusta.
Kuten kaikkien vettä käyttävien laitteiden kohdalla, myös hammasvälisuihku voi altistua kalkkisaostumille, homeelle ja bakteerikasvustolle, ellei sitä huolleta säännöllisesti. Alla on vaiheittaiset ohjeet hammasvälisuihkun oikeaoppiseen puhdistamiseen.
Miksi hammasvälisuihkun puhdistaminen on tärkeää
Vesihammasharjat altistuvat jatkuvasti vedelle, joten ne ovat täydellinen kasvualusta mineraaleille, homeelle ja bakteereille. [1] Siksi sinun tulee puhdistaa omasi säännöllisesti:
- Estää bakteerien kasvua vesivarastossa ja suuttimessa.
- Estää veden tukkeutumisen tavallisella vedenpaineella.
- Pidentää laitteen käyttöikää.
- Parantaa suuhygieniaa tarjoamalla puhdasta ja hygieenistä vettä.
Kuinka usein hammasvälisuihku tulisi puhdistaa?
Jotta voit pitää sinun hammasvälisuihku sujuvasti
- Jokapäiväinen käyttö: Huuhtele ja valuta säiliö jokaisen käyttökerran jälkeen.
- Viikoittain: Puhdista ja pyyhi kaikki irrotettavat osat.
- Kuukausittain: Puhdista sisäiset mekanismit perusteellisesti ja tiputa vetyperoksidia tai valkoviinietikkaa.
Vaihda hammaslankaimen kärki 3–6 kuukauden välein parhaan tuloksen saavuttamiseksi.
Päivittäinen puhdistus estää bakteerien kertymistä, suojaa suun terveyttäsi ja varmistaa, että hammasvälisuihku toimii kunnolla. Puhdas hammasvälisuihku tarkoittaa kirkkaampaa hymyä. [2]
Kuinka puhdistaa hammasvälisuihku
Hammasvälisuihkun säännöllinen puhdistaminen on tarpeen, jotta se toimisi tehokkaasti ja kestäisi pidempään. Mineraalikerrostumat, bakteerien kertyminen ja roskat voivat ajan myötä kerääntyä ja heikentää veden painetta sekä laatua. [3] Me jaamme koko prosessin vaiheittaisiin ohjeisiin.
Tarvikkeet
- Valkoinen etikka tai mieto astianpesuaine
- Lämmin vesi
- Pehmeä kangas tai sieni
- Hammasharja tai pieni harja
- Puuvillapuikot
- Vetyperoksidia lisähygieniaan (valinnainen)
1. Irrota laite pistorasiasta
Irrota hammasvälisuihku aina virtalähteestä puhdistuksen ajaksi sähköiskujen välttämiseksi.
2. Tyhjennä vesisäiliö ja puhdista se
Tyhjennä vesisäiliö ja kaada vesi pois. Huuhtele huolellisesti lämpimällä vedellä poistaaksesi mahdolliset jäämät tai ylimääräisen suuvesiannoksen (tarvittaessa). Jos säiliö kestää astianpesukoneen (katso oman mallisi ohjeet), laita se astianpesukoneen yläritilälle kerran viikossa.
3. Puhdista laitteen ulkopuoli
Puhdista hammasvälisuihkun ulkopinta pehmeällä liinalla ja miedolla, hankaamattomalla puhdistusaineella. Tämä estää pölyn, lian ja vesitahrojen kertymisen. Puhdista myös painikkeiden ja ohjauspaneelien ympäristö, sillä lika kertyy helposti niiden ympärille.
4. Puhdista vesisäiliö
Vesisäiliöön voi kertyä mineraalijäämiä ja bakteerikasvustoa, ellei sitä puhdisteta säännöllisesti. Seuraavassa kerrotaan, miten se puhdistetaan:
- Poista säiliö laitteesta. Jos et ole varma, tarkista ohjeet tuotteen käyttöoppaasta.
- Pöytämalleissa poista pieni musta säiliön venttiili työntämällä se alapuolelta. Hiero venttiiliä lämpimän veden alla noin 30–45 sekuntia, ja aseta se sitten sivuun.
- Aseta säiliö yläkorin astianpesukoneeseen perusteellista puhdistusta varten. Anna säiliön kuivua ilmakuivauksella sen sijaan, että käyttäisit kuivaustoimintoa, jotta muoviosat eivät vahingoitu.
Haluatko mieluummin käsinpesun? Pese hellävaraisesti lämpimällä, saippuavedellä.
Syvälliseen puhdistukseen:
- Sekoita valkoviinietikkaa ja lämmintä vettä suhteessa 1:1 ja täytä säiliö puolilleen. Anna seoksen vaikuttaa 5–10 minuuttia mineraalikertymien liuottamiseksi ja bakteerien tappamiseksi.
- Pyörittele liuosta varovasti ja huuhtele säiliö huolellisesti puhtaalla vedellä.
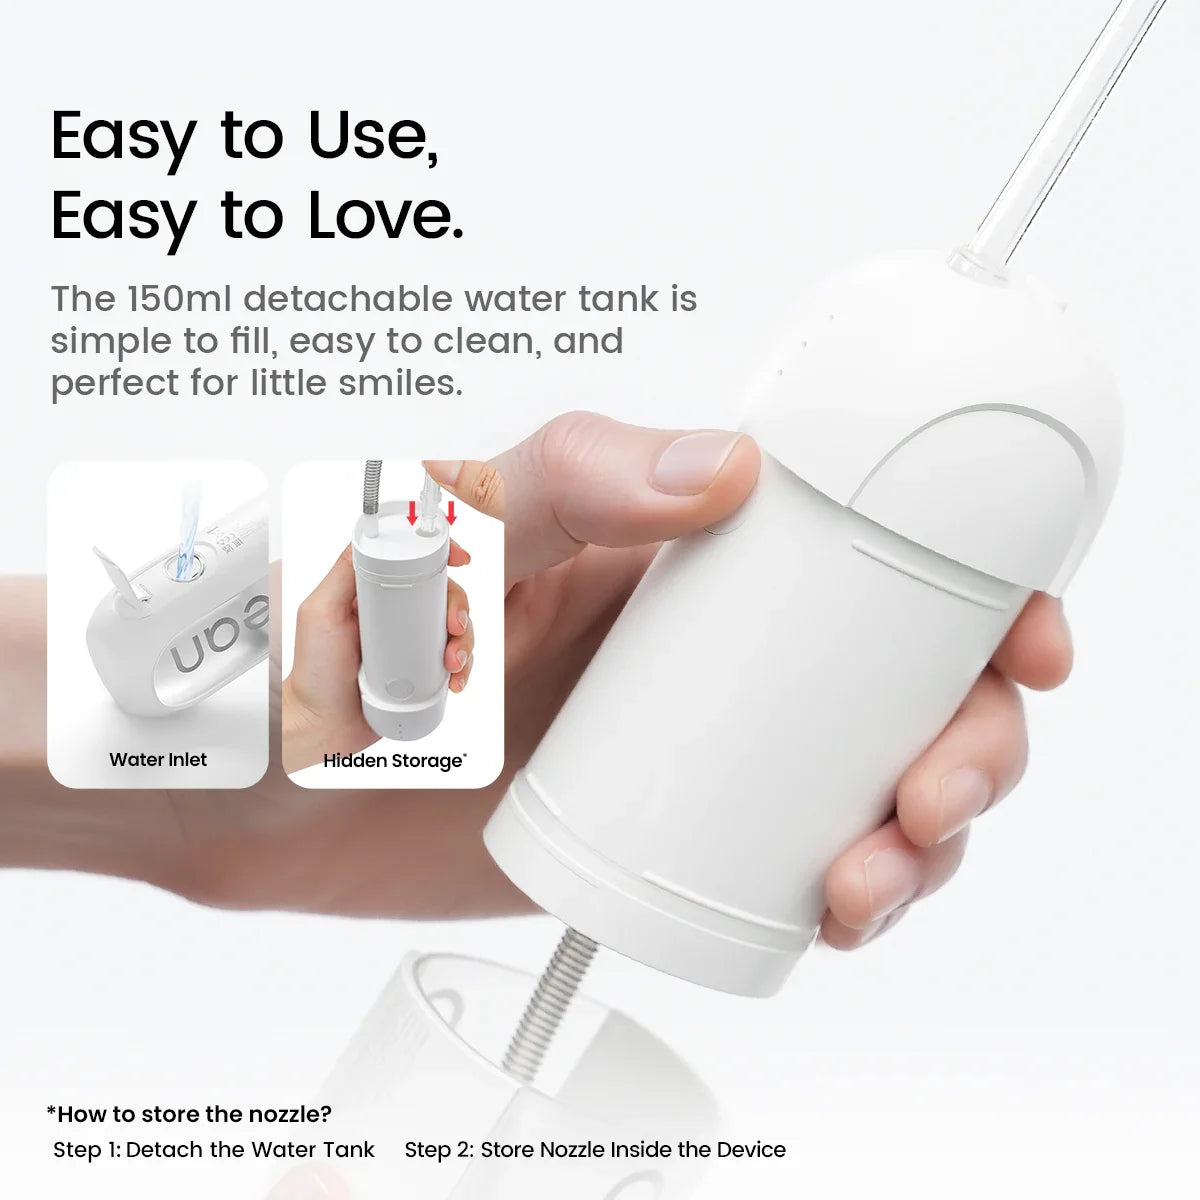
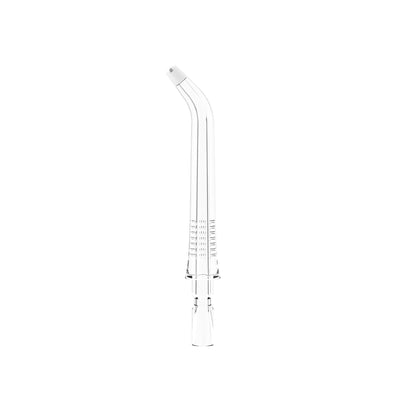
5. Puhdista sisäputket
Sisäosien puhdistaminen estää hammasvälien puhdistajasi tukkeutumisen kalkki- ja bakteerikerrostumiin:
- Vedä kärki ulos poistopainikkeella.
- Kasta kahvaa 5–7 minuutiksi veteen ja valkoviinietikkaan sekoitettuun liuokseen, jossa on 2 osaa vettä ja 1 osa valkoviinietikkaa.
- Huuhtele kahva lämpimällä vedellä poistaaksesi mahdolliset jäämät.
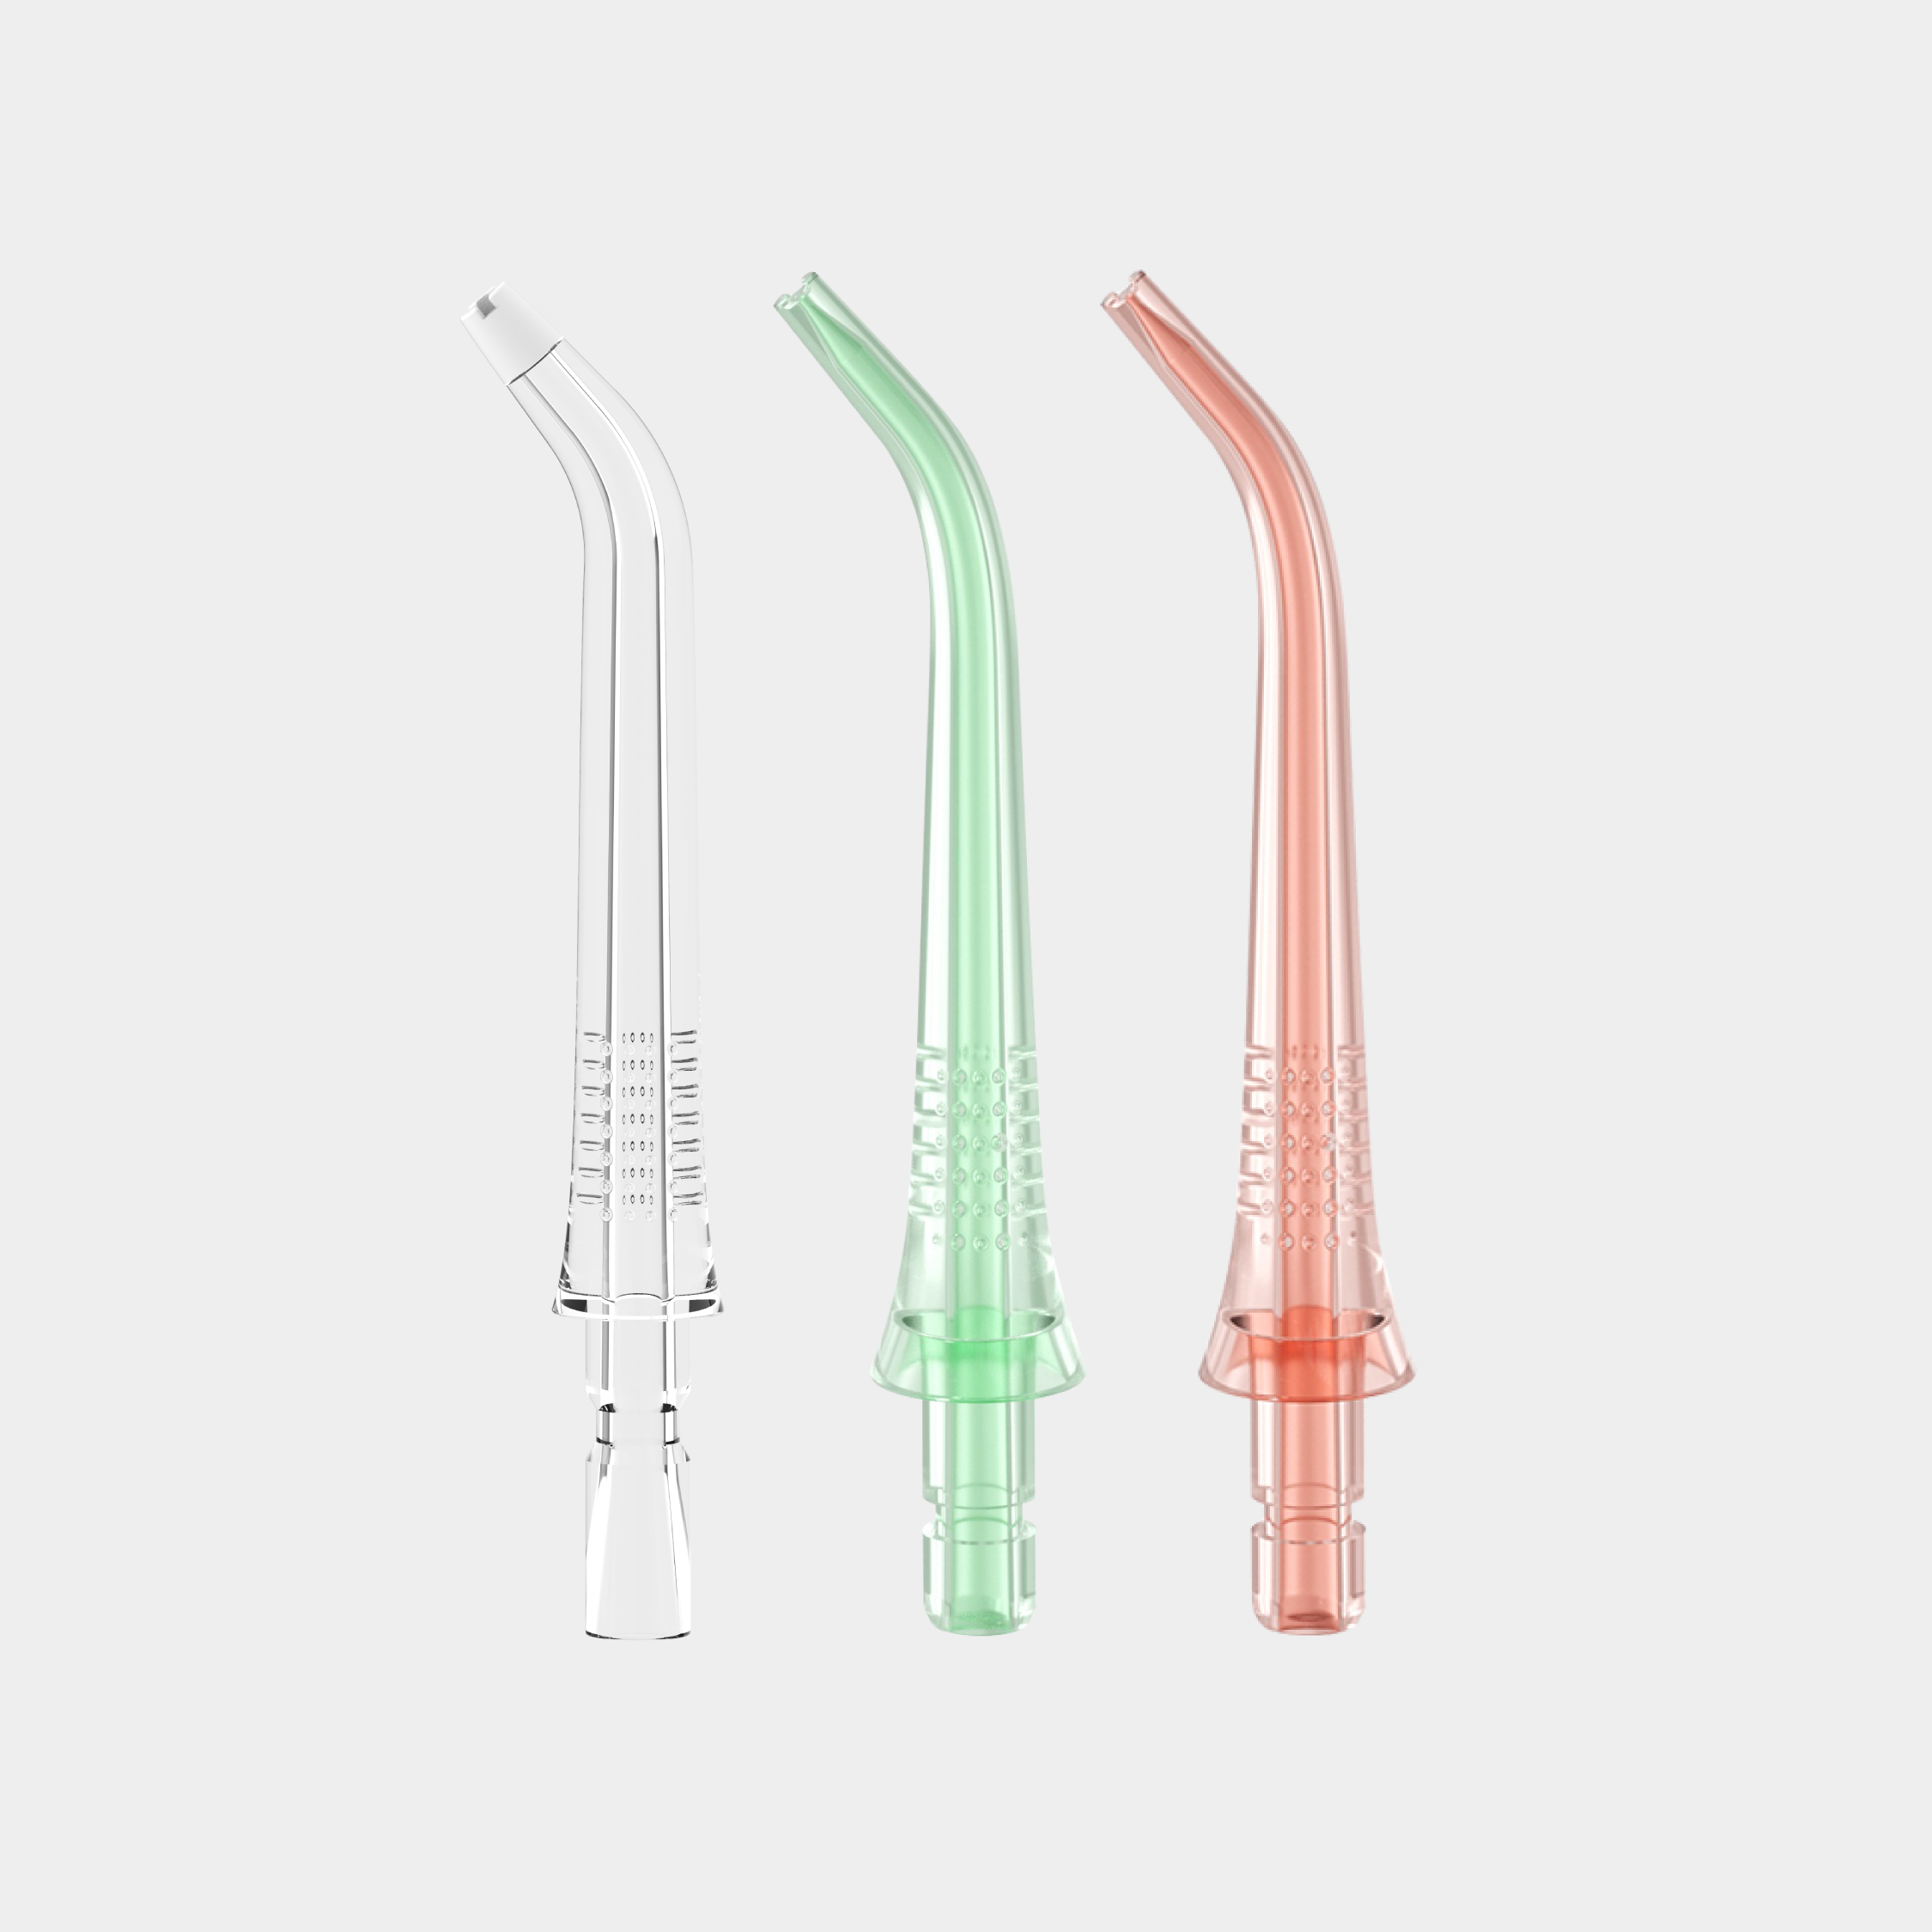
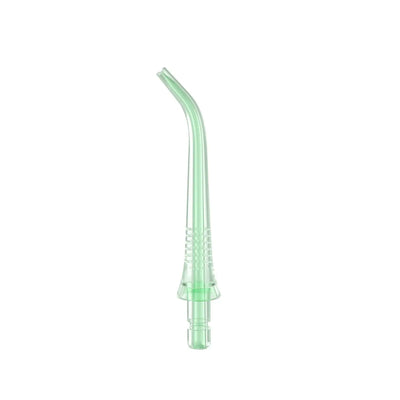
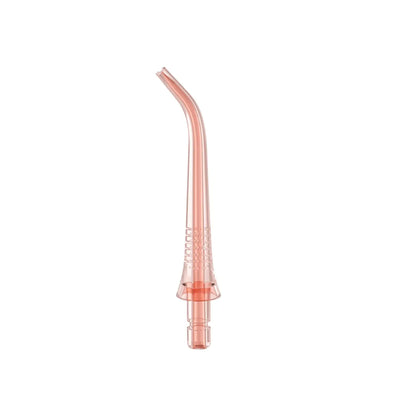
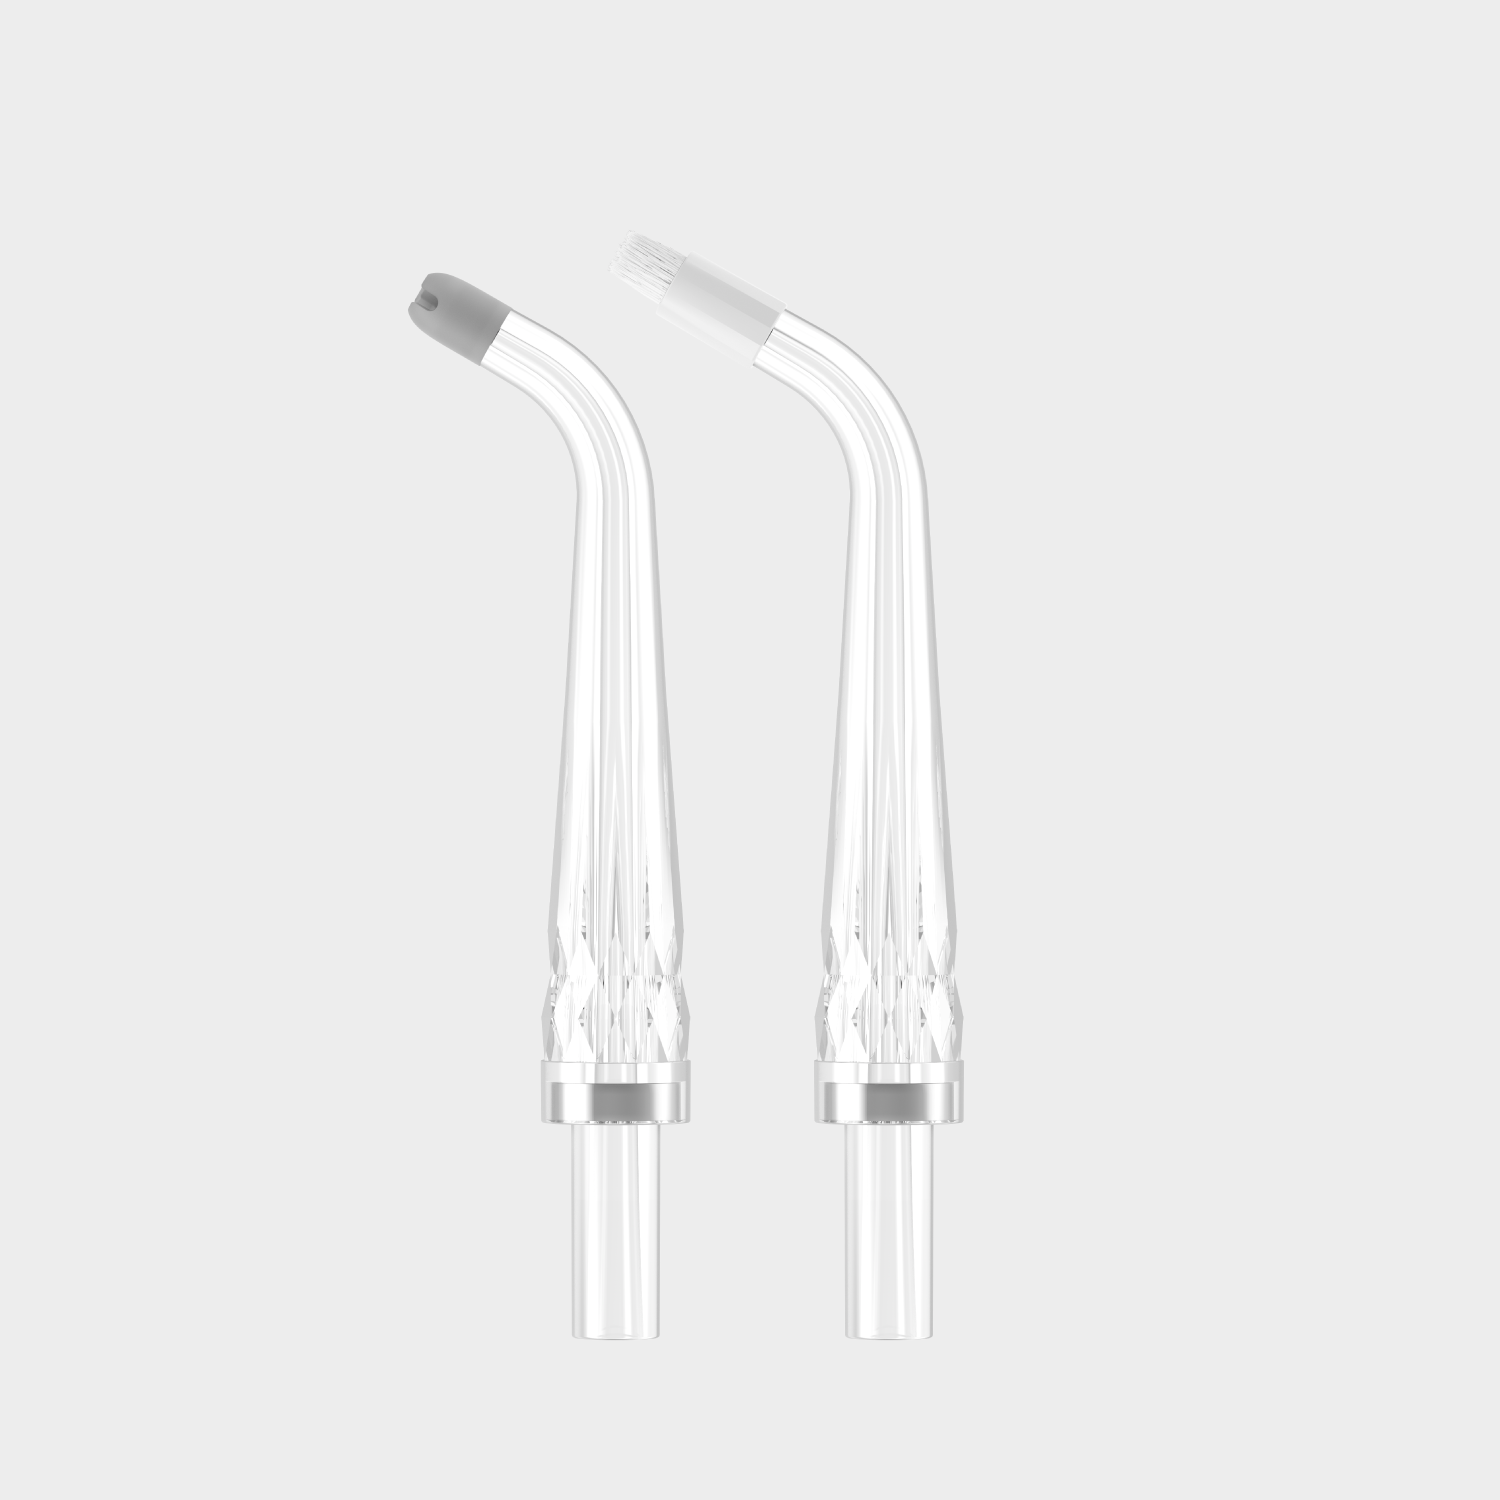
6. Puhdista hammaslankaimen kärki
Sinun tulee kiinnittää erityistä huomiota hammasvälisuihkun suuttimen hoitoon, koska se koskettaa suoraan hampaitasi ja ikeniäsi:
- Vedä kärki ulos poistopainikkeella.
- Kasta se 2 osaan vettä ja 1 osaan valkoviinietikkaa (tai vetyperoksidia) 5–10 minuutiksi.
- Huuhtele kärki huolellisesti lämpimällä juoksevalla vedellä.
Vinkki: Vaihda kärjet 3–6 kuukauden välein tai aina, kun ne alkavat kulua.
7. Pyyhi ulkopinta
Puhdista flosserin ulkopinta kostealla liinalla tai sienellä. Vältä voimakkaiden puhdistusaineiden käyttöä äläkä upota pohjayksikköä veteen.
Puhdista painikkeiden ympärillä olevat alueet tai ahtaat paikat vanupuikolla.
8. Anna kaiken kuivua ilmassa
Huuhtele ja puhdista kaikki osat, anna niiden kuivua täysin ilmassa ennen kokoamista. Säilytä hammaslankain kuivassa ja viileässä paikassa.
Lisävinkkejä hammasvälisuihkun huoltoon
Laitteesi parhaan suorituskyvyn ylläpitäminen ei ole vaikeaa—tarvitaan vain säännöllisyyttä. Tässä muutamia lisävinkkejä, joilla voit viedä huoltorutiinisi seuraavalle tasolle:
- Käytä aina mahdollisuuksien mukaan tislattua vettä, erityisesti jos vesijohtovesi sisältää runsaasti mineraaleja. Se estää kalkkikertymien muodostumisen.
- Vältä veden seisottamista säiliössä käyttökertojen välillä
- Vaihda suutin 3–6 kuukauden välein—tai jos se on haljennut tai kulunut. Kulunut suutin voi kerätä bakteereja ja menettää toimintakykynsä.
- Tarkista käyttöohjeesta merkin hoito-ohjeet. Kaikki hammaslangat eivät ole samanlaisia – osa on irrotettavia putkityyppejä ja osa ei.
- Yritä pitää se kuivana. Säiliöön tai kahvan ympärille jäävä vesi aiheuttaa homeen ja bakteerien kasvua. Varmista, että flosseri kuivuu huolellisesti ennen säilytystä.
Yhteenveto
Hammasvälisuihkun säännöllinen puhdistus parantaa sen suorituskykyä, estää homeen ja bakteerien kertymistä sekä pitää suunhoitosi parhaalla mahdollisella tasolla. Likainen hammasvälisuihku ei ainoastaan heikennä laitteen tehoa – se voi myös vaarantaa suun terveyden. Muutamalla yksinkertaisella toimenpiteellä kuukaudessa voit pidentää laitteen käyttöikää ja pitää suusi raikkaampana, puhtaampana ja terveempänä.
Älä anna laitteen näyttää kertymisen tai tukkeutumisen merkkejä. Puhdista se säännöllisesti osana suuhygieniakäytäntöäsi — hampaasi (ja hammasväliharjasi) kiittävät!